Designing Your Shutter

It all starts with an idea..

Let’s bring it to life!

Where to start?


Our shutters are completely bespoke to your windows, designed and taking into consideration your home, your windows, the operational requirements but most importantly, your dream vision.

Designing Your Shutter

Its a really easy 4 step process to choosing the right shutter for you. Outlined below, are our customisation options to allow you to bring your vision to life.

Our surveying team carry all samples to show you to take a closer look at in the comfort of your own home.
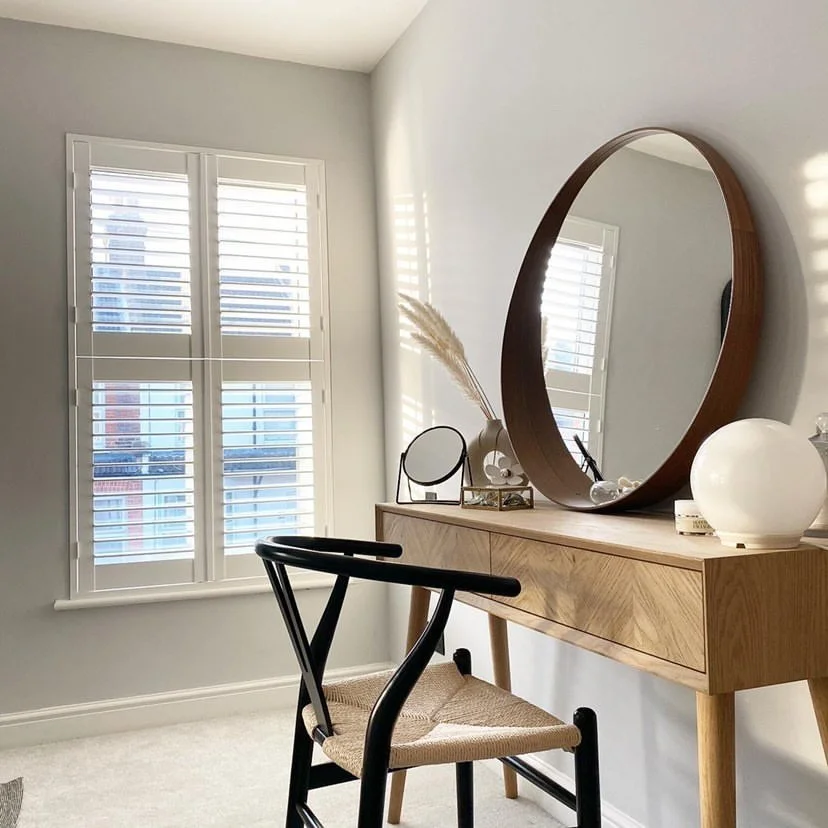
A minimalist bedroom or dressing area with a light wood vanity or desk, decorated with a large circular mirror, a small round mirror, a white ceramic vase with pampas grass, and other decorative items. A black chair with a woven seat is in front of the desk, and window shutters allow natural light into the room.
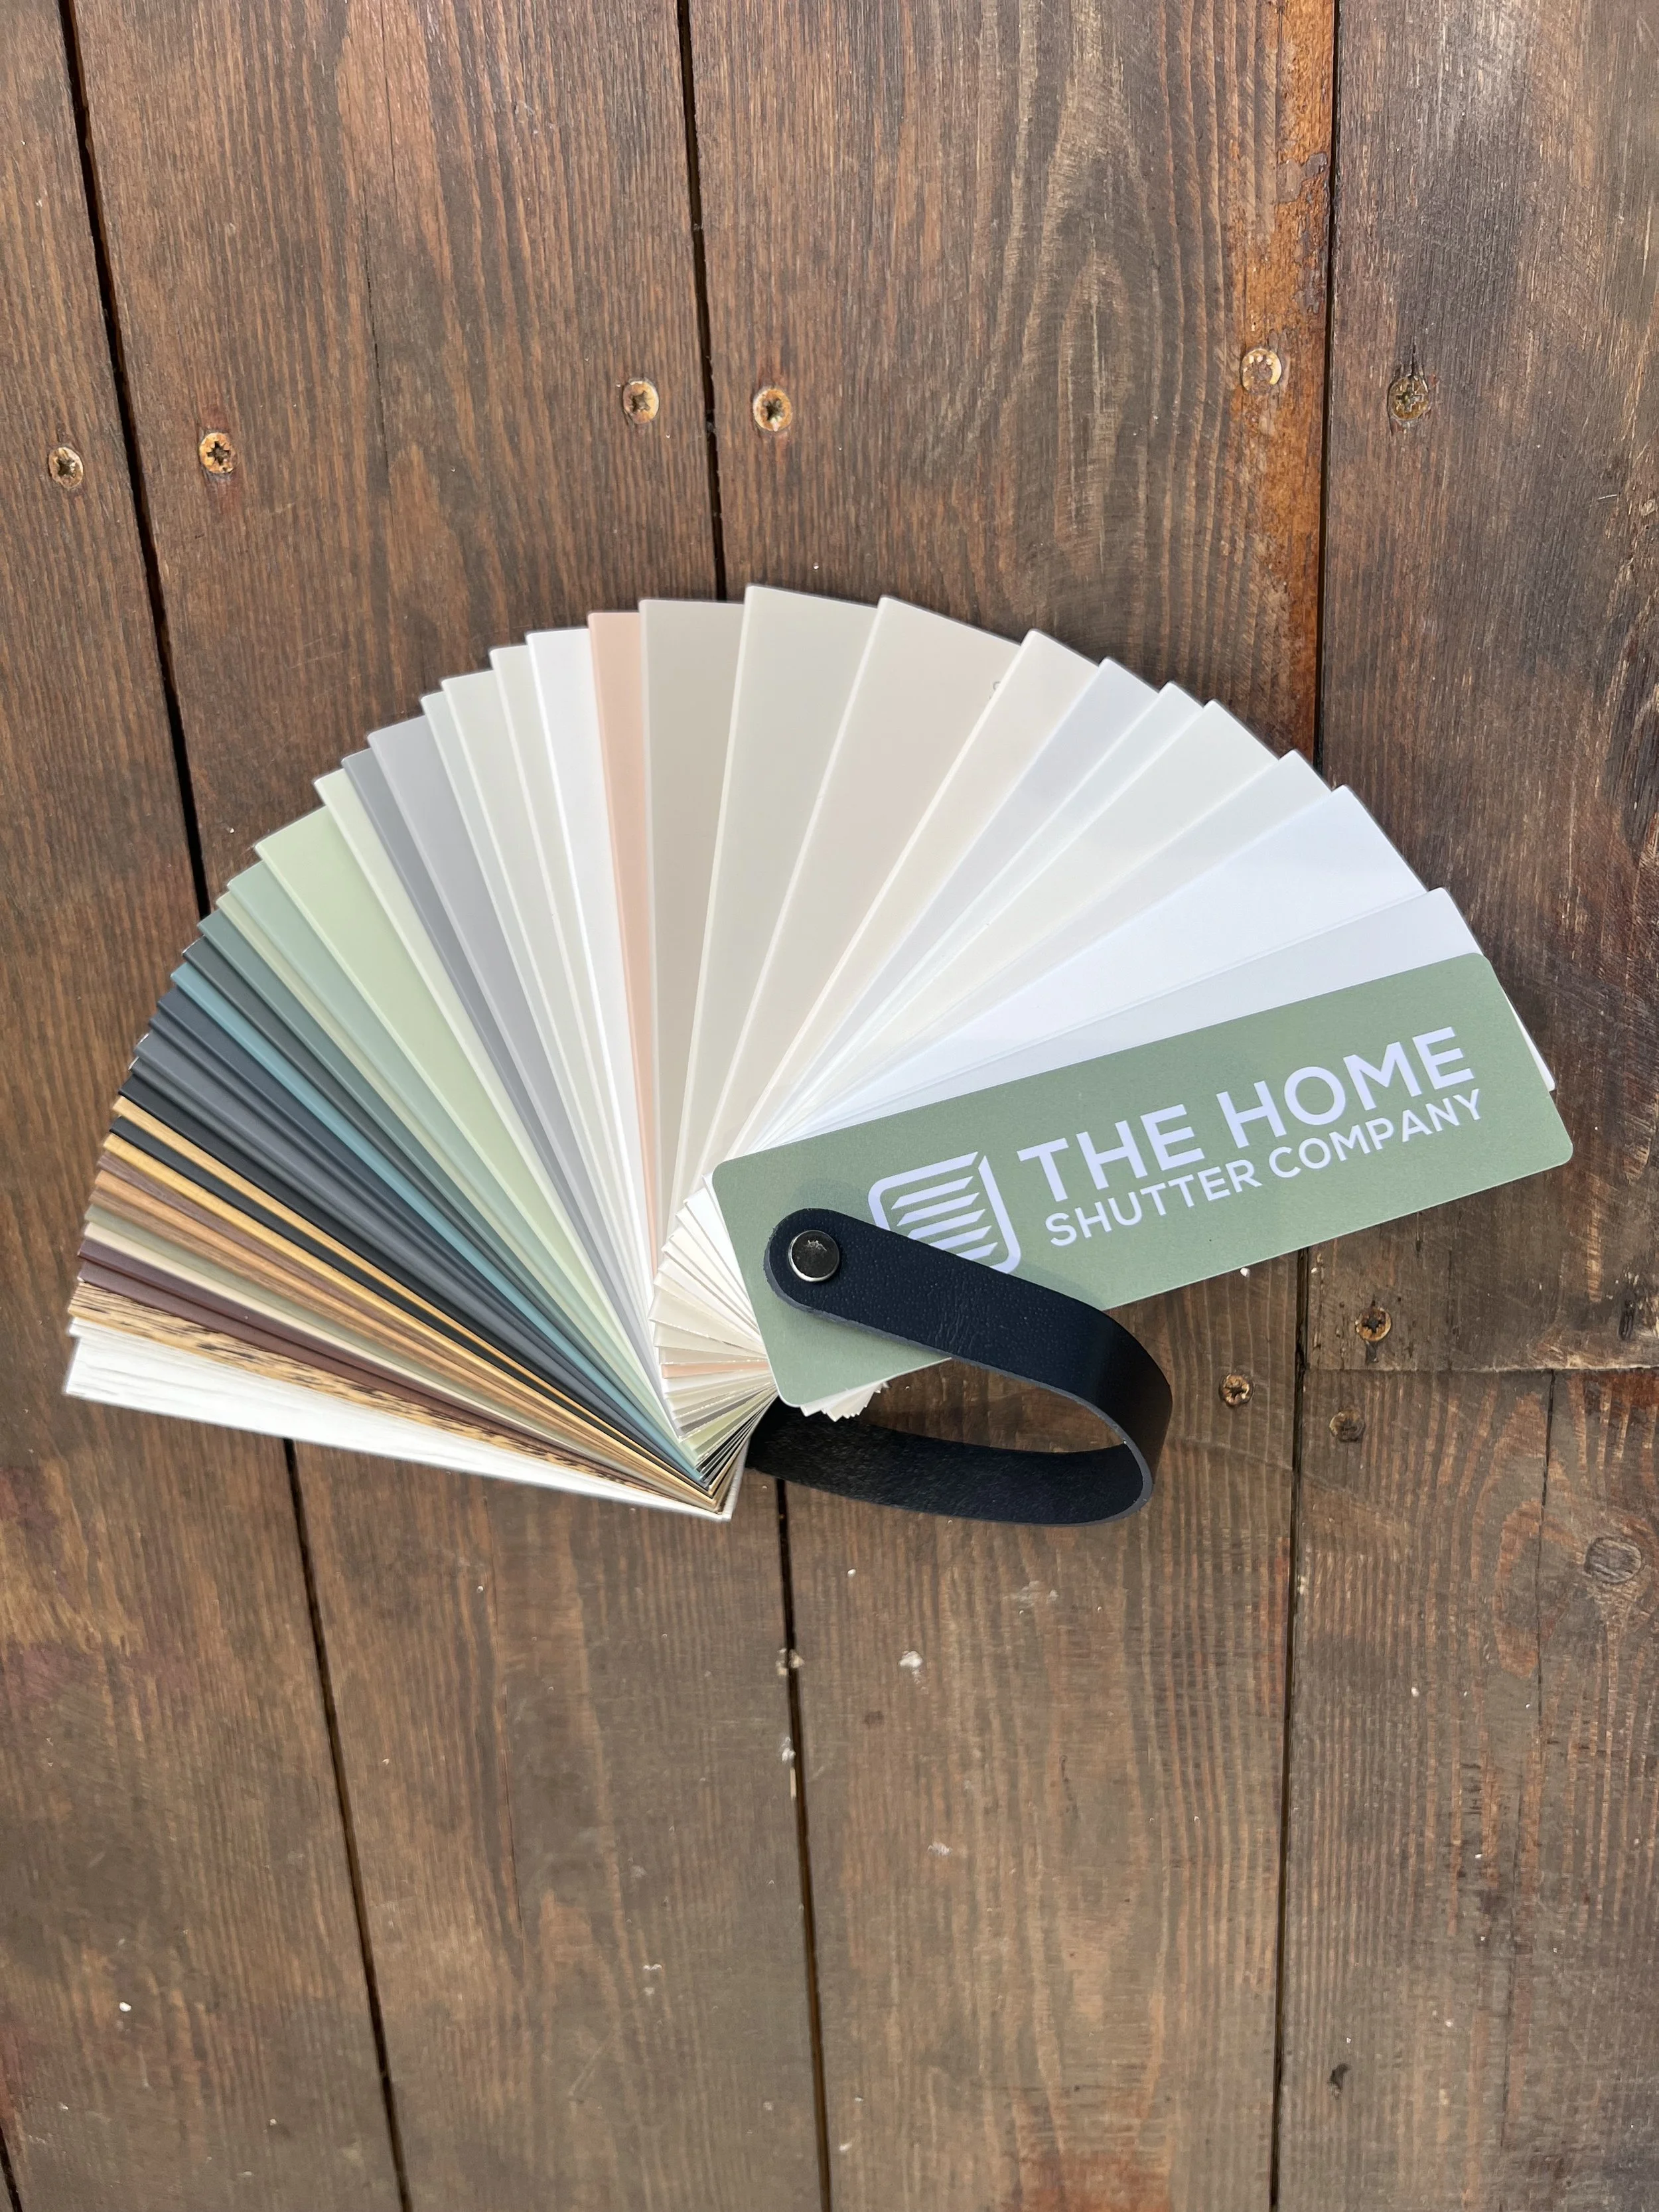
Fan deck of paint color samples fanned out on a wooden surface
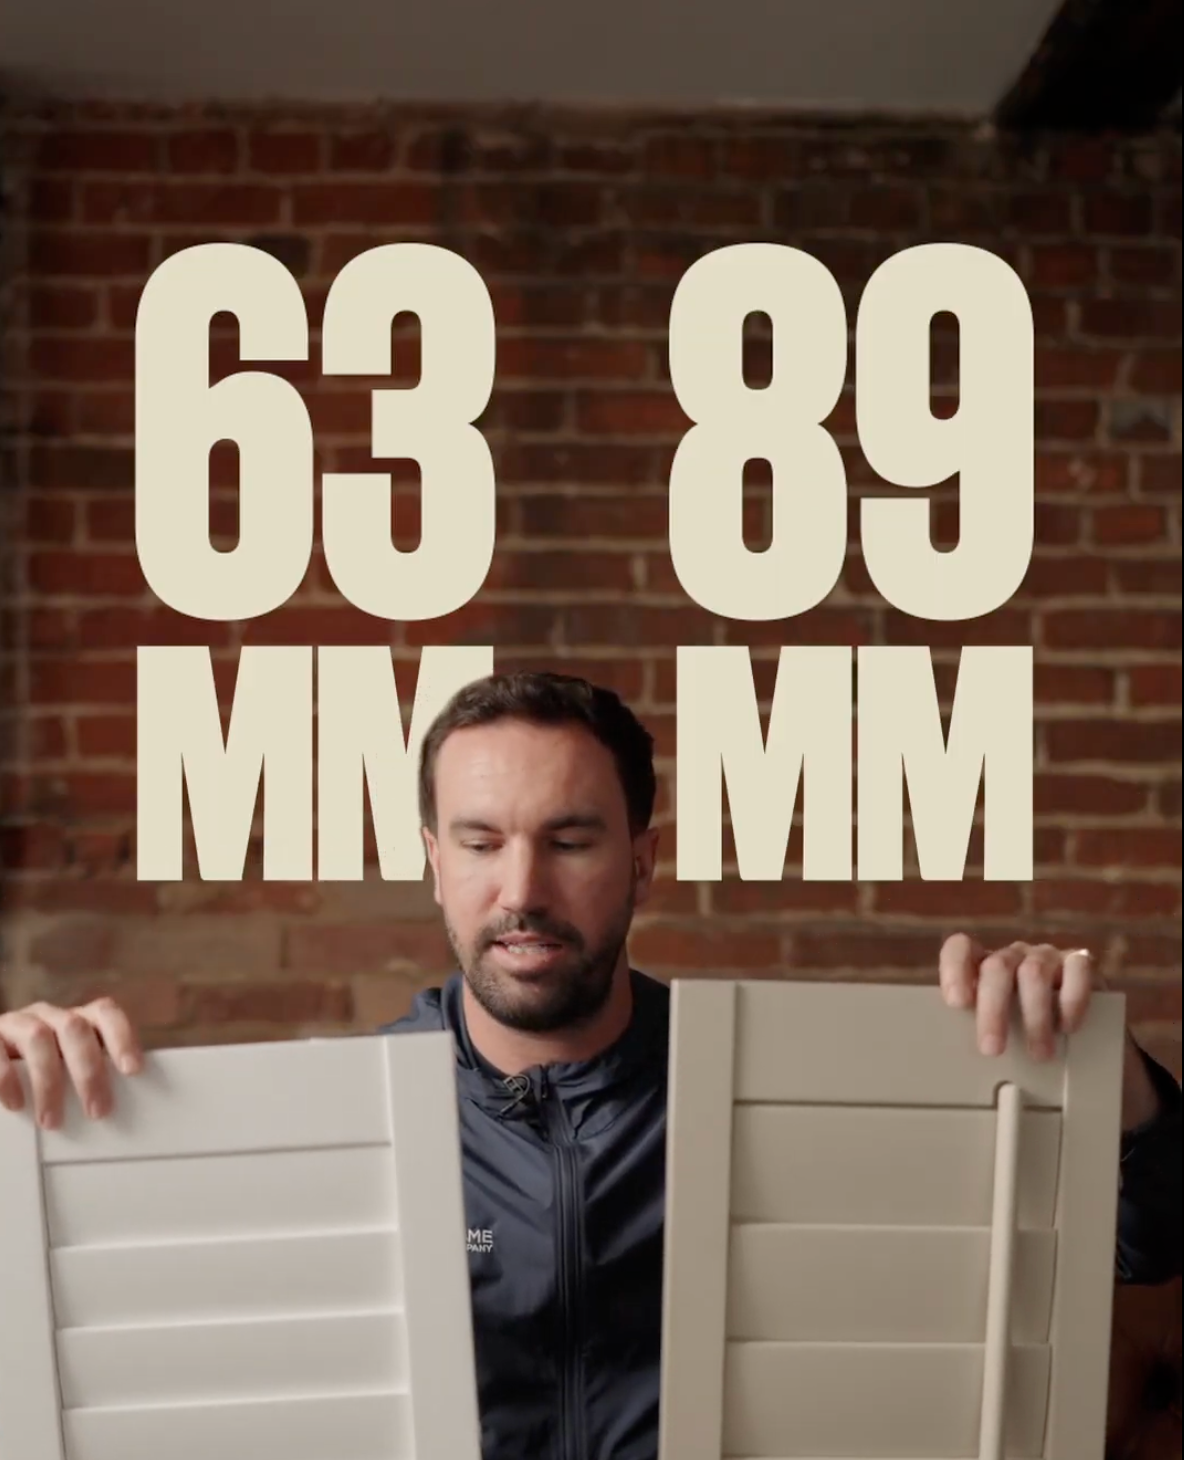
A man with a beard holds two white louvered panels, with large overlay text displaying time 63:89 and initials MM and MMM against a brick wall background.
A man wearing a navy blue shirt and a woman are standing near a window with white blinds, with the man holding a window shutter slat in his hands, possibly adjusting or installing it.

Step One

Choose your shutter style
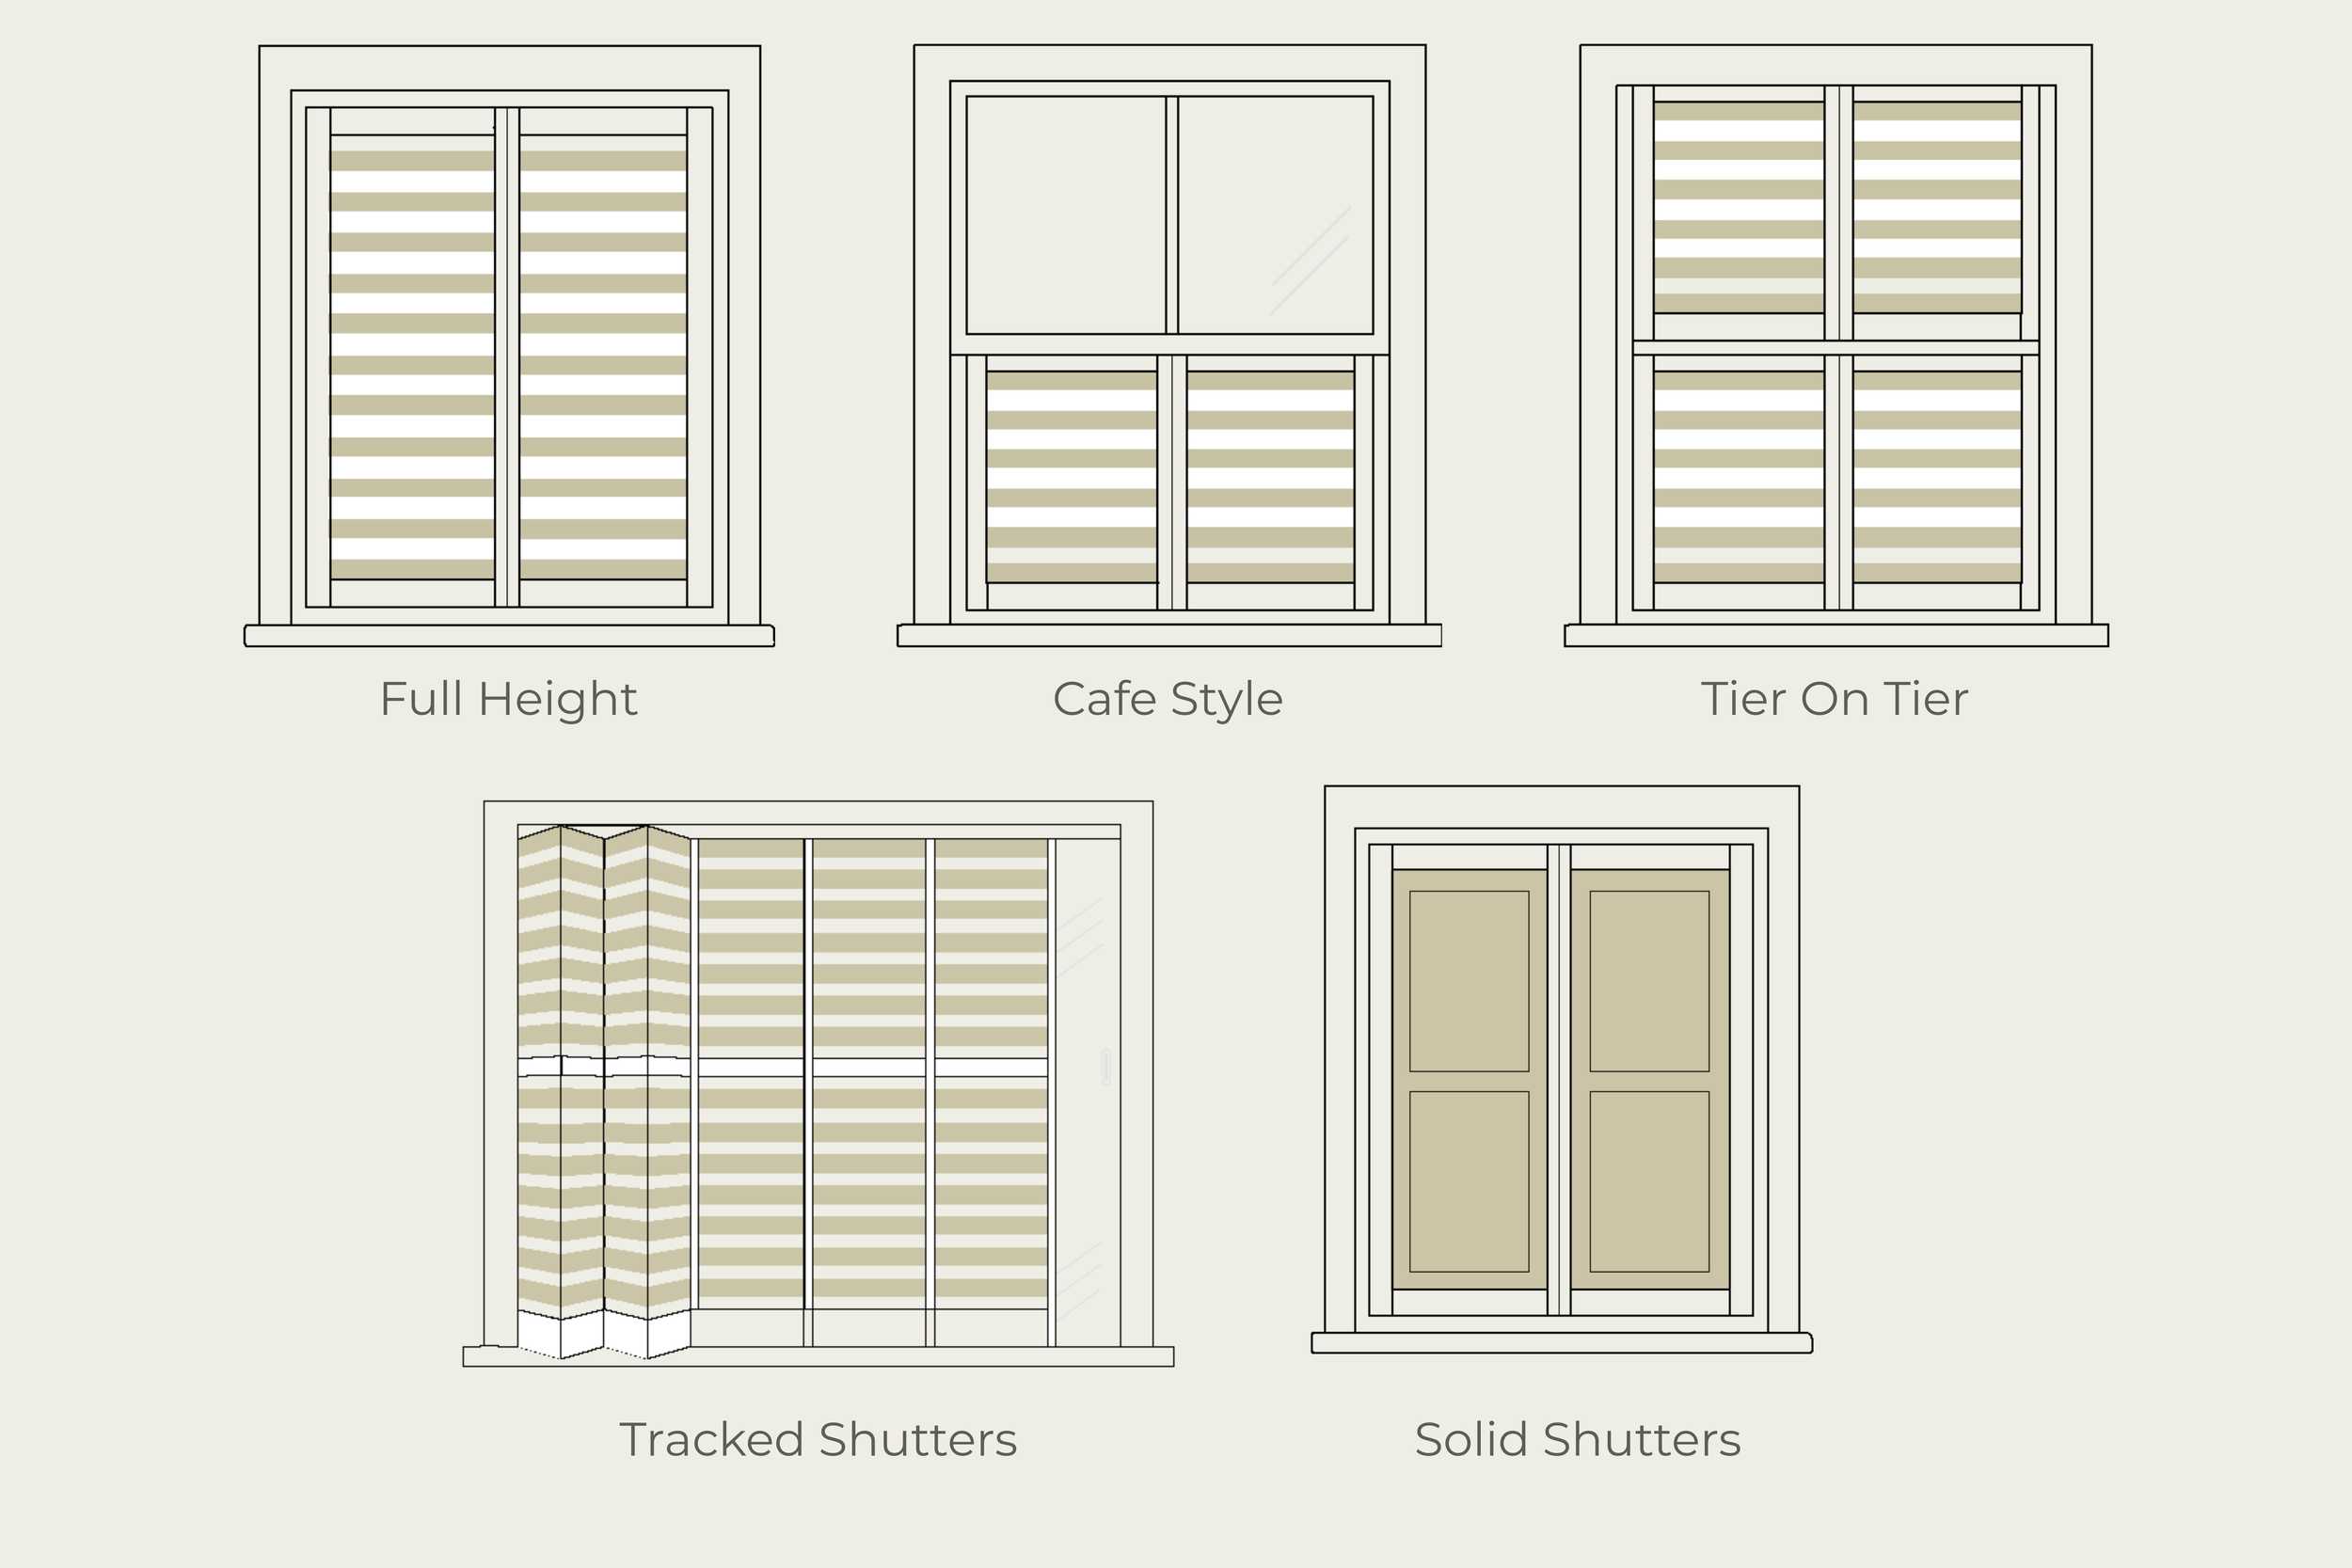
Diagram showing different types of shutters including full height, cafe style, tier on tier, tracked shutters, and solid shutters, each with illustrations and labeled descriptions.

Styles above available within a bay window

Step Two

Choose your shutter colour

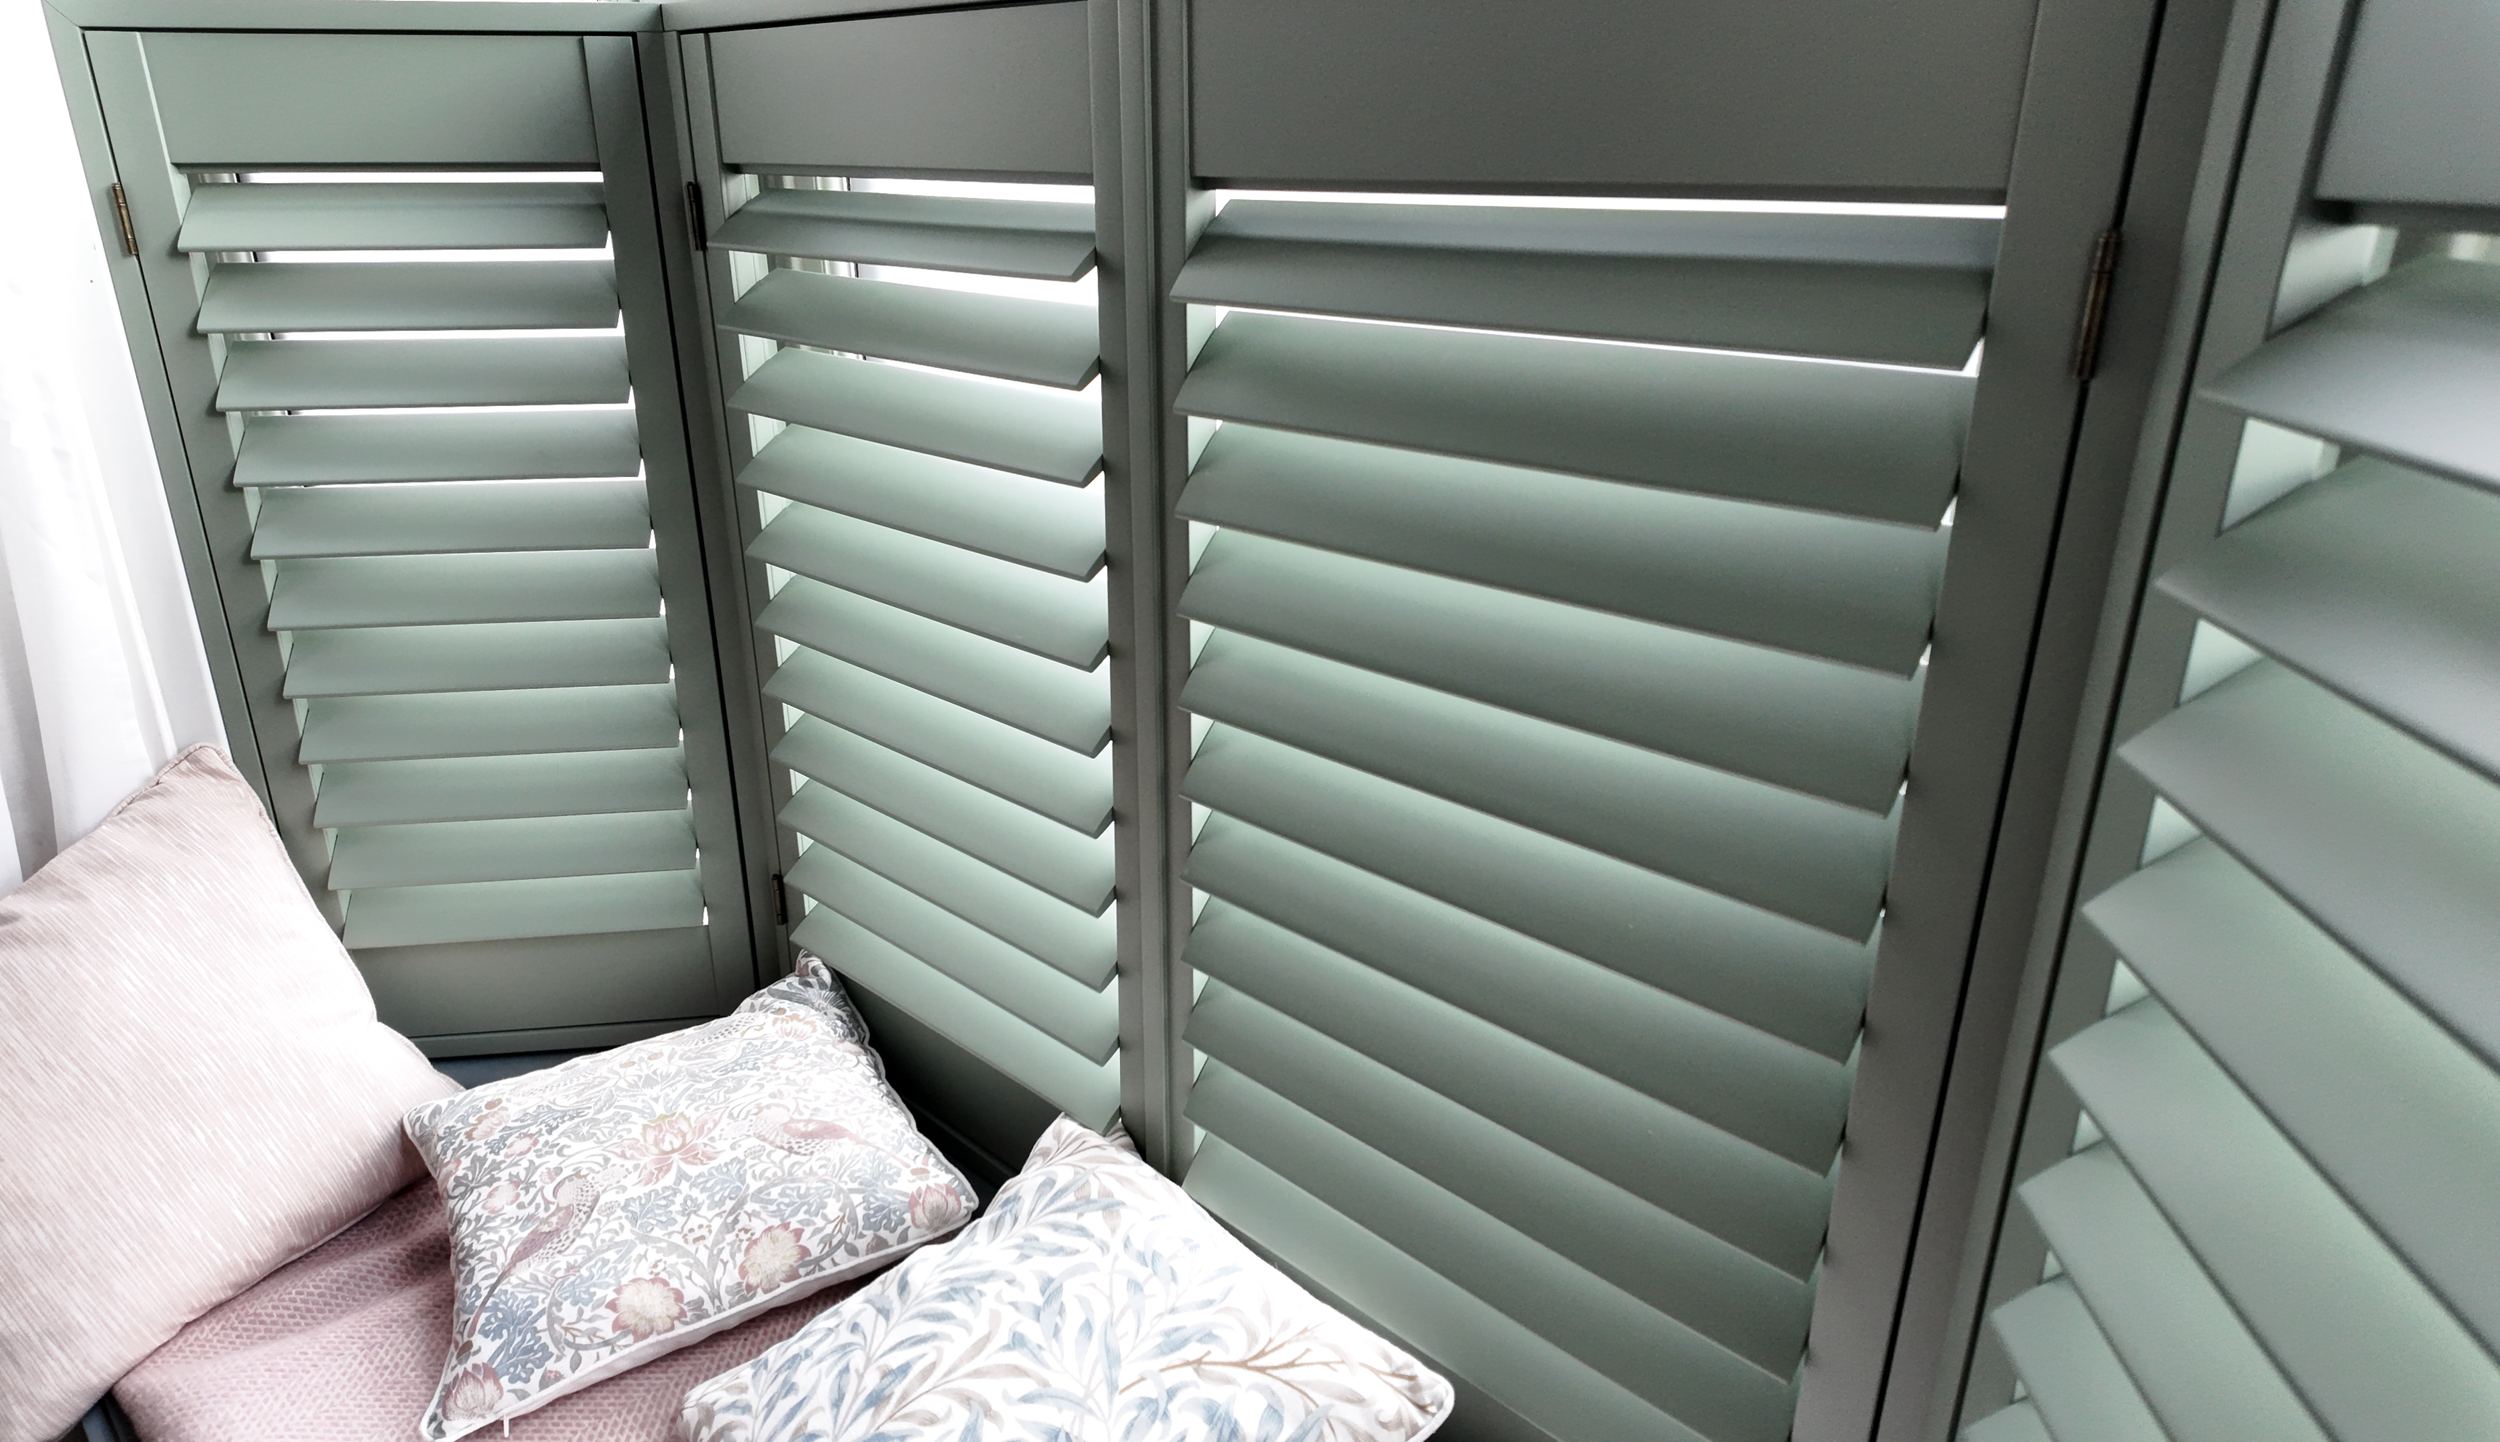
Pick from one of the fully exclusive to The Home Shutter Company colours above or use our custom colour match service to Farrow and ball, Little Greene, Dulux or any RAL colour.

A collage of logos for different brands including Farrow & Ball, Little Greene, Lick, Dulux, and RAL.

Walk through our colour range with Sophie..

Select your hinge colour

Think matching your metals or adding a pop of colour!
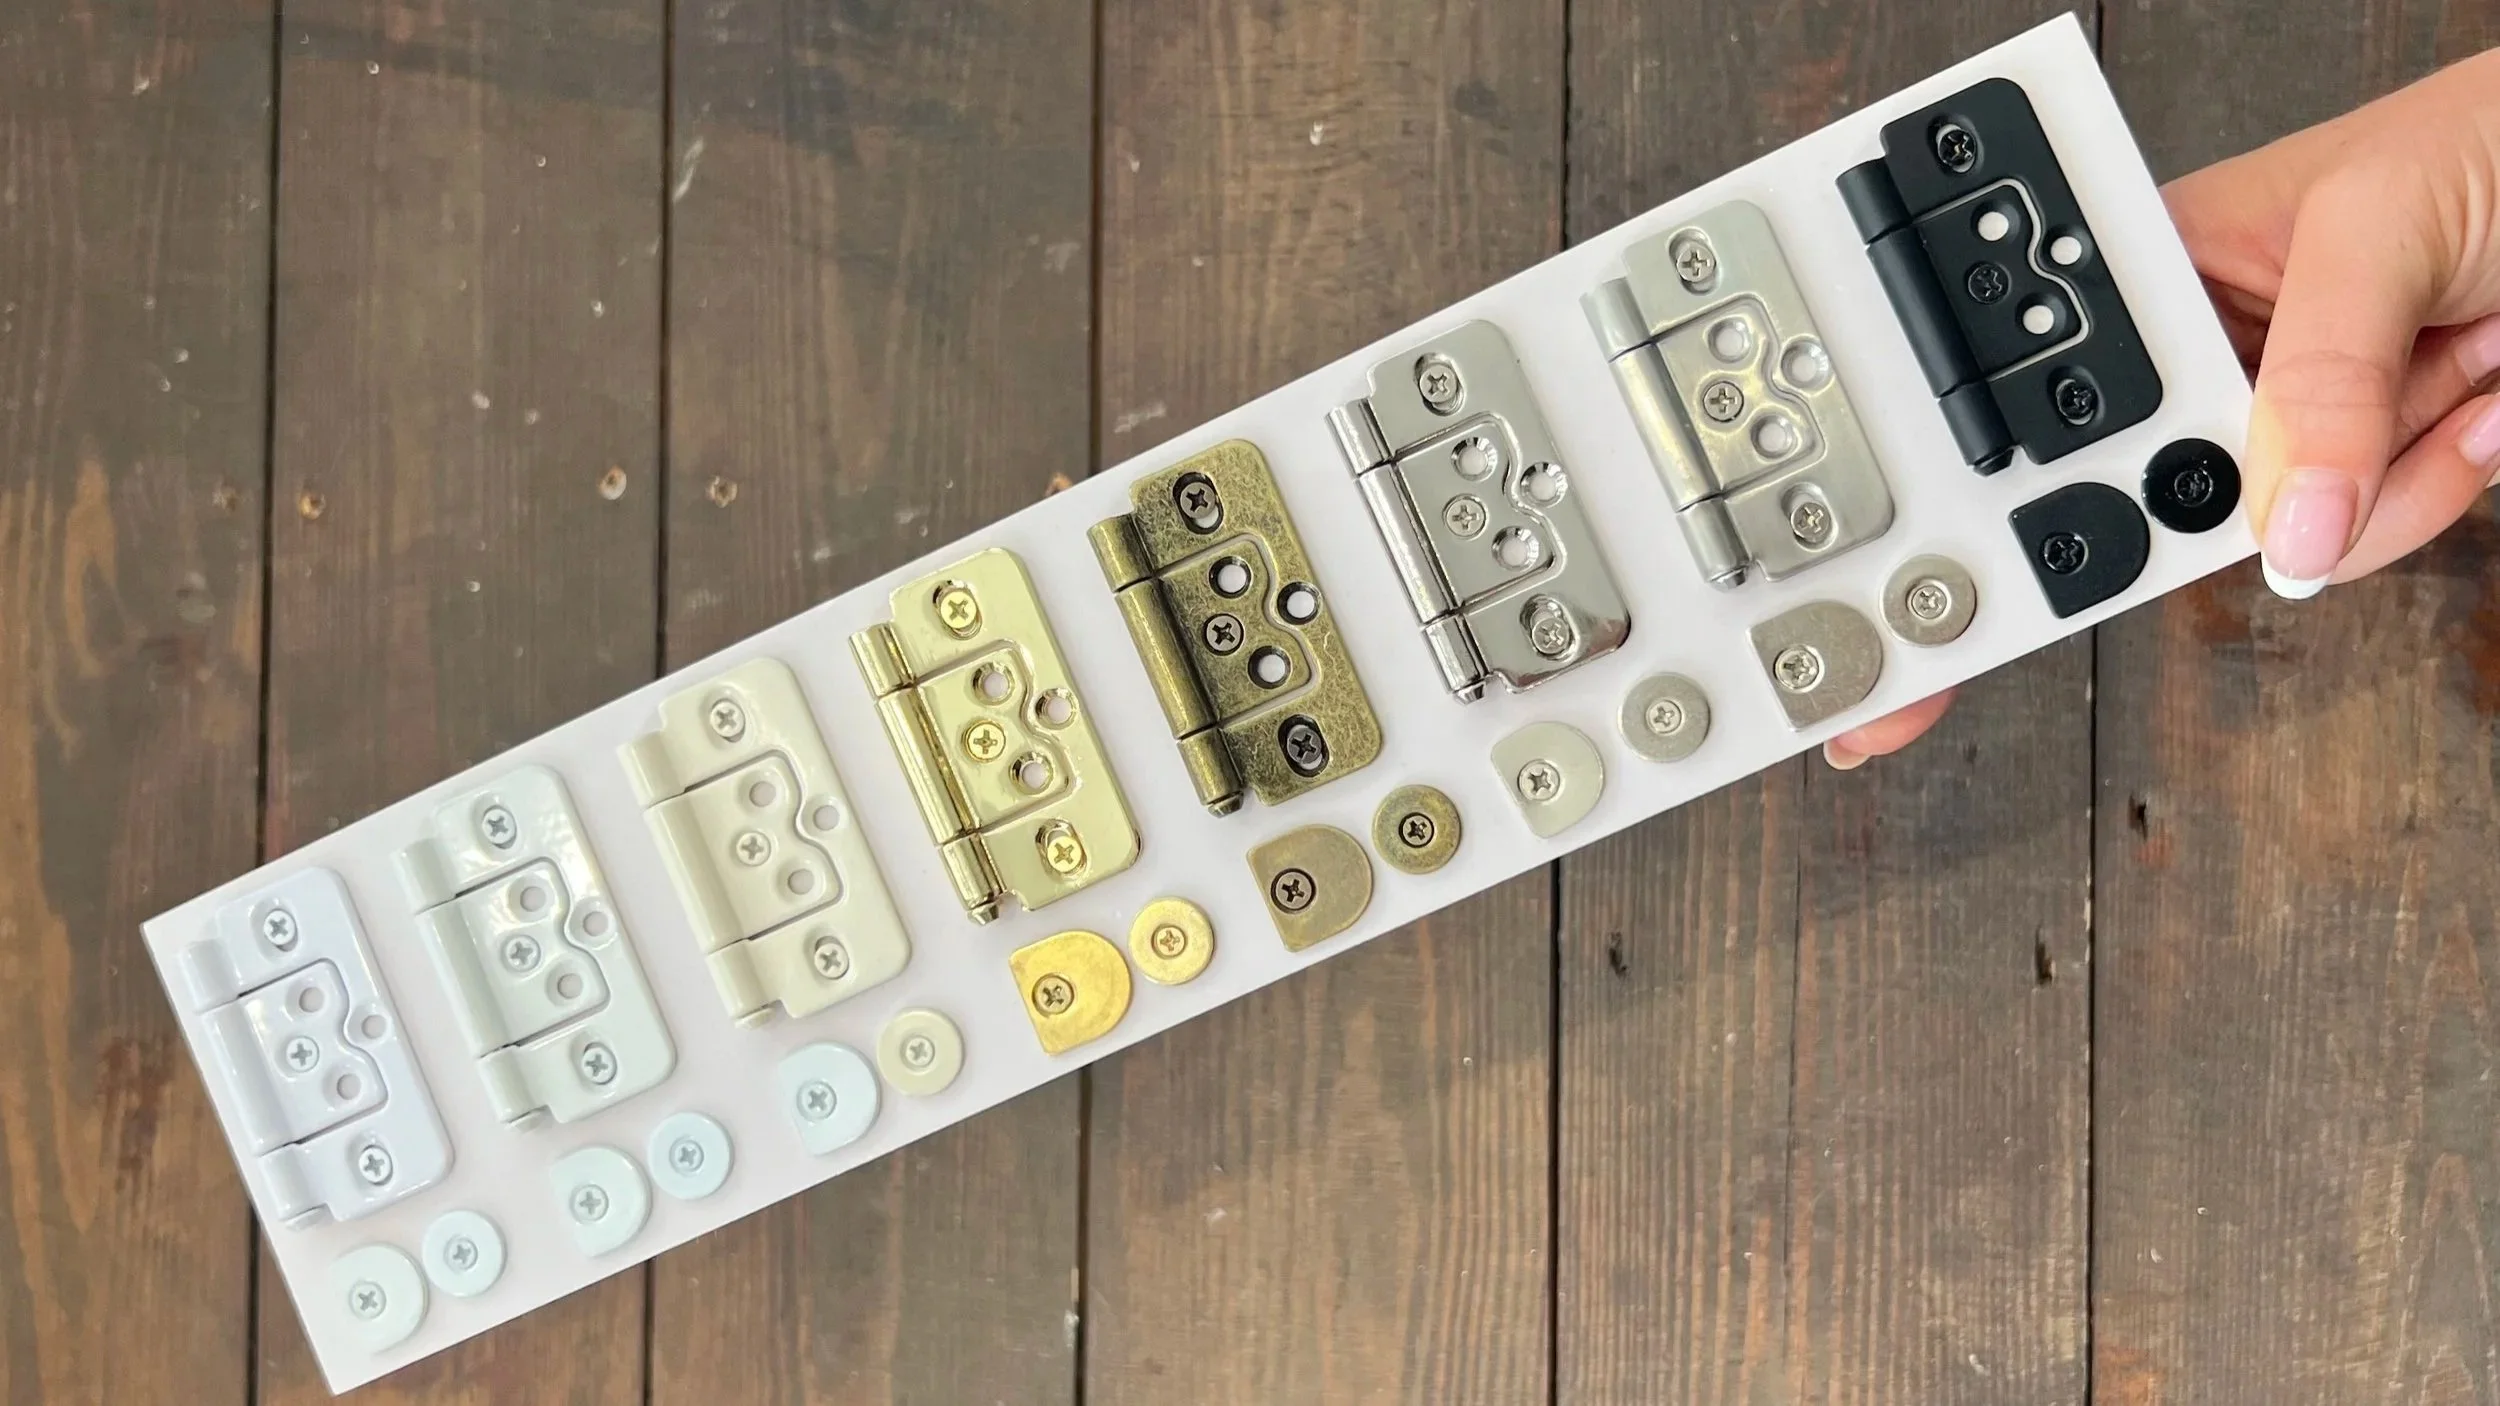
A hand holding a plastic tray with several different types of hinges and hardware in various finishes, including brass, silver, and black, arranged on a wooden surface.

Step Three

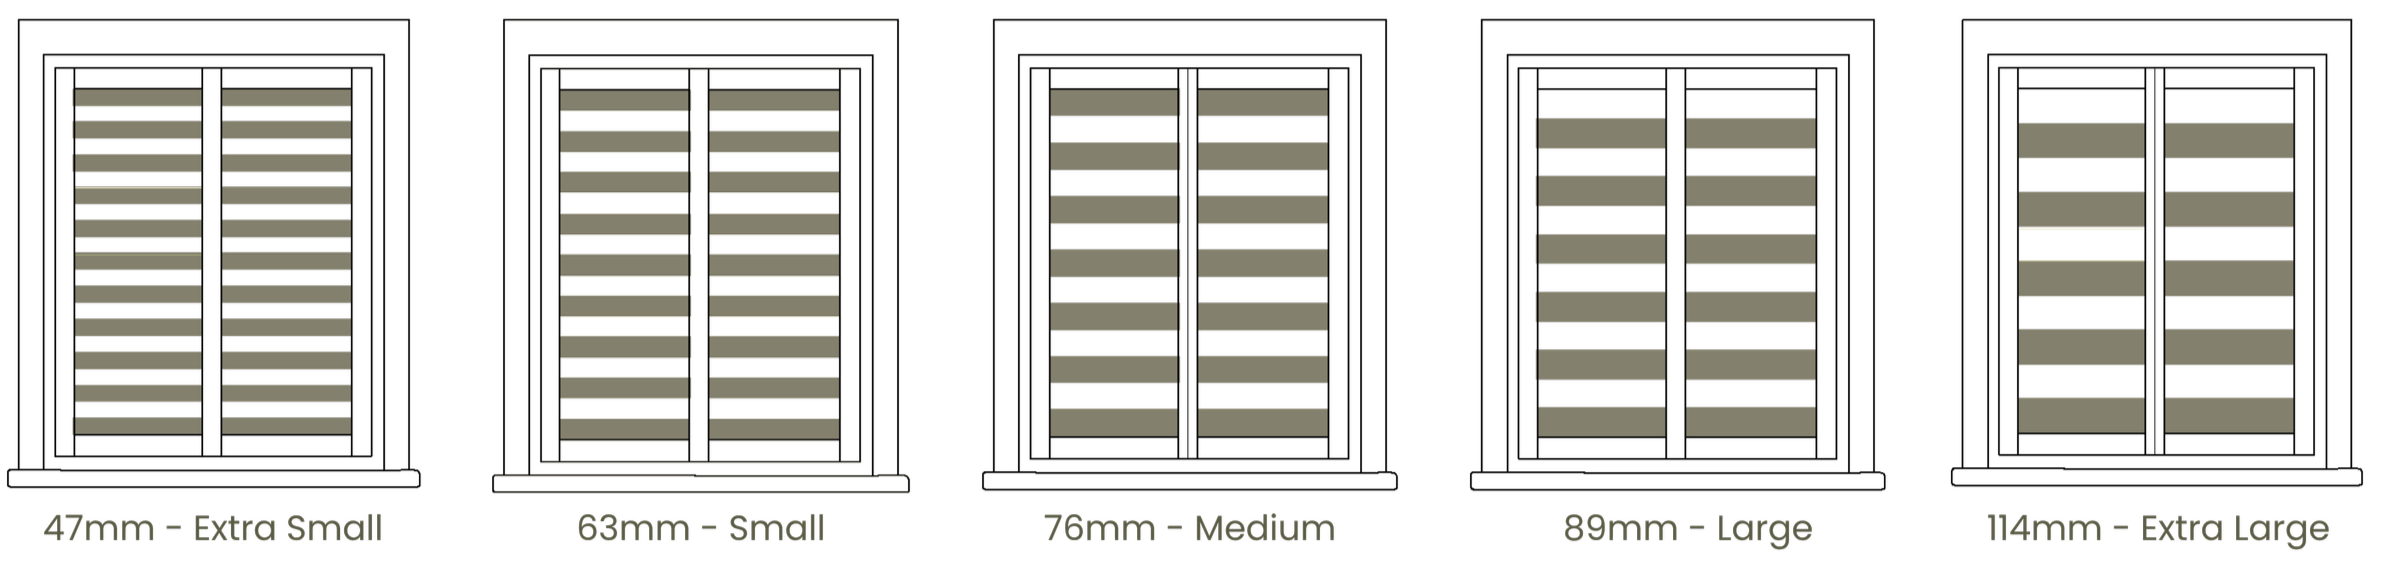
Choose your slat size

Size comparison chart of camera lens diameters, showing 47mm extra small, 63mm small, 76mm medium, 89mm large, and 114mm extra large.

The larger the slat size, the more light that can come through when the slats are open. Slat sizes should always be in proportion to your window.

We will work with you to find the right balance.

What slat size is right for you? Heres Jake to walk you through the choices…

Step Four

Choose your tilt mechanism
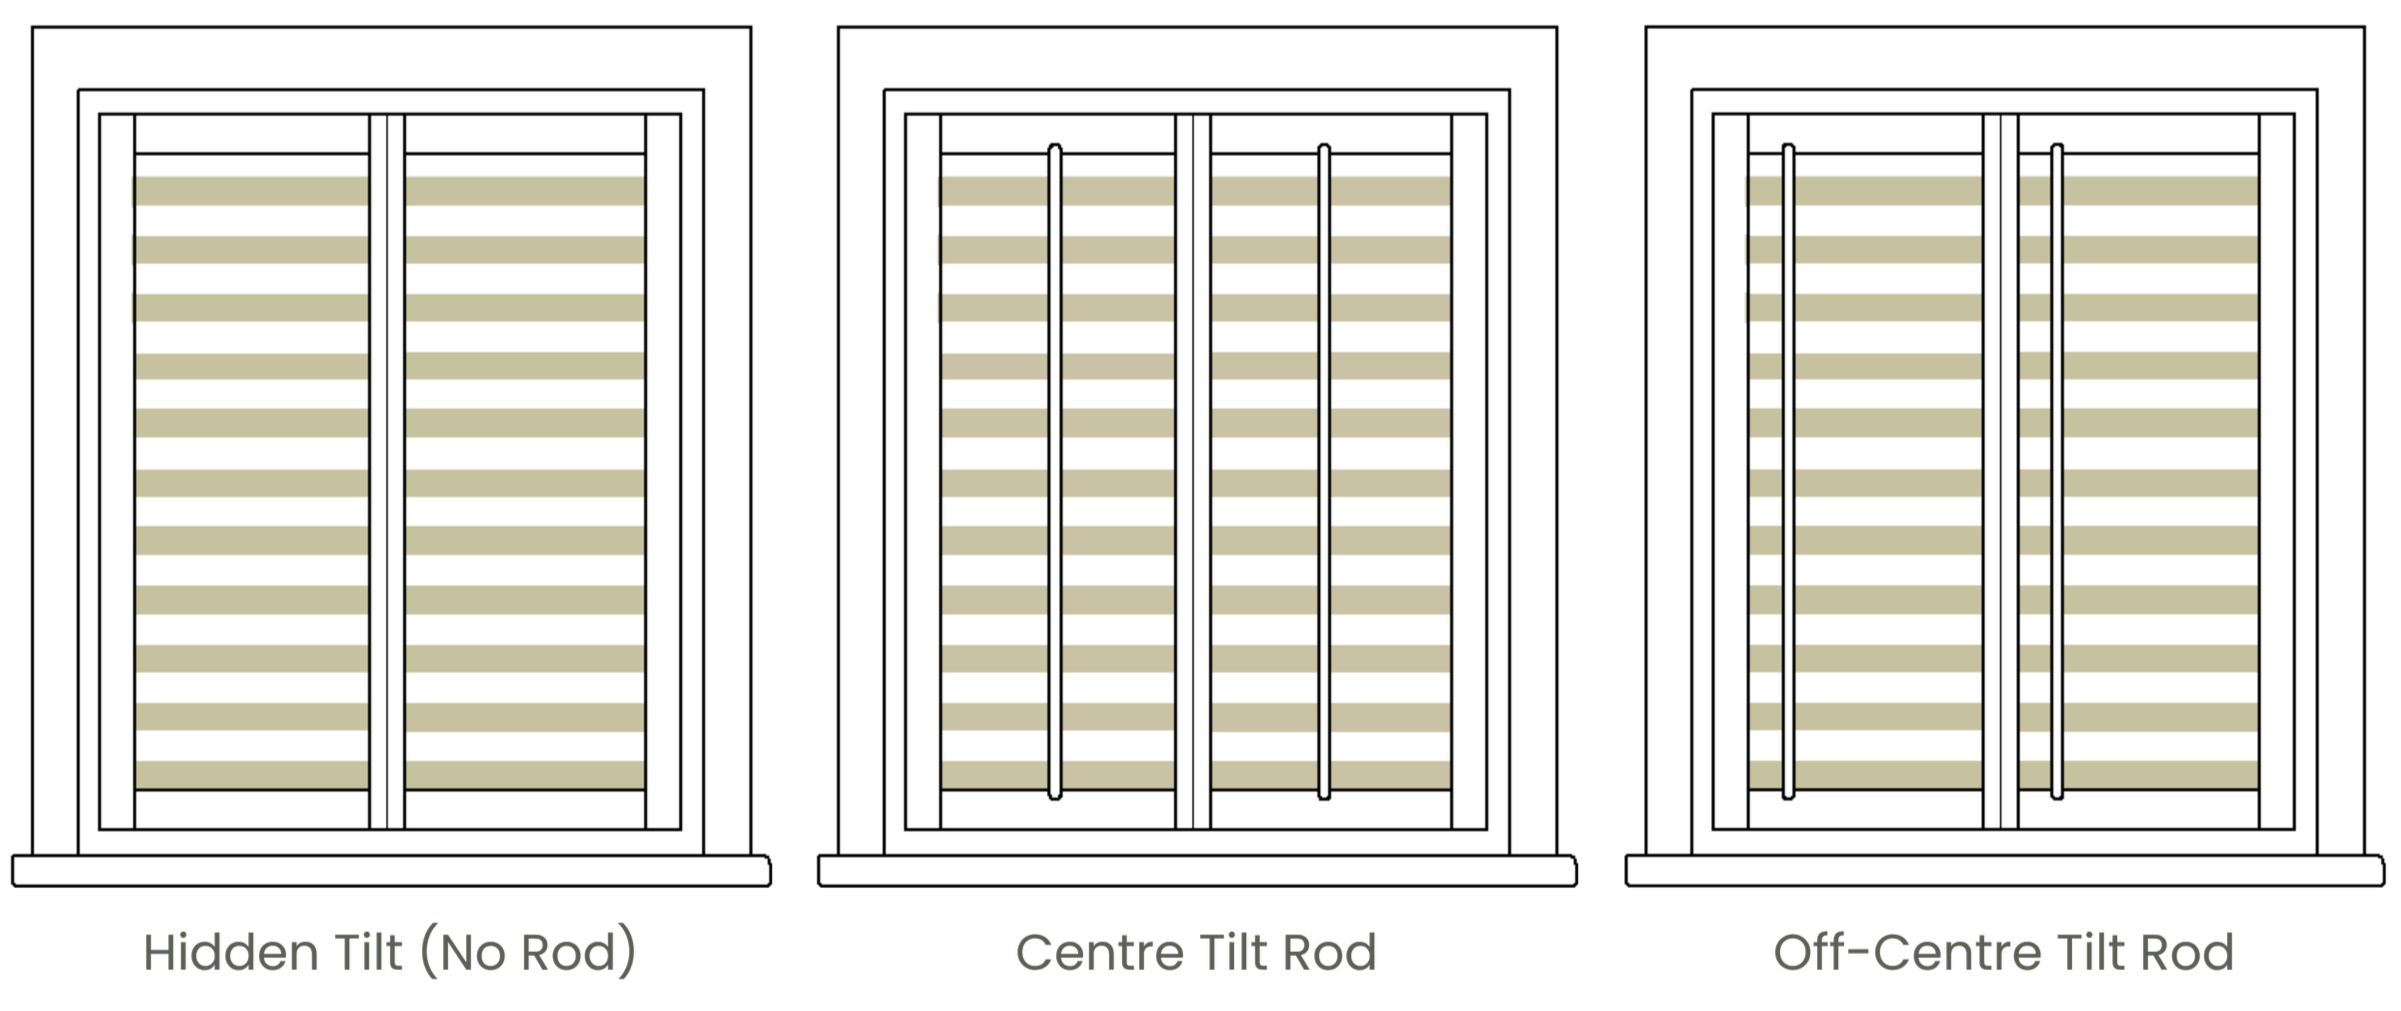
Diagram showing three different types of camera tilt techniques: Hidden Tilt (No Rod), Centre Tilt Rod, and Off-Centre Tilt Rod, with visual illustrations of each method.

Tilt mechanisms are essentially how you open and close the slats.

Whilst Hidden (no rod) is the most popular, those with more traditional aesthetics go for a centre tilt rod to align the shutters with the vibe of the home.

What will tilt mechanism will you choose? Here’s Ellie to help..

The Optional Extras
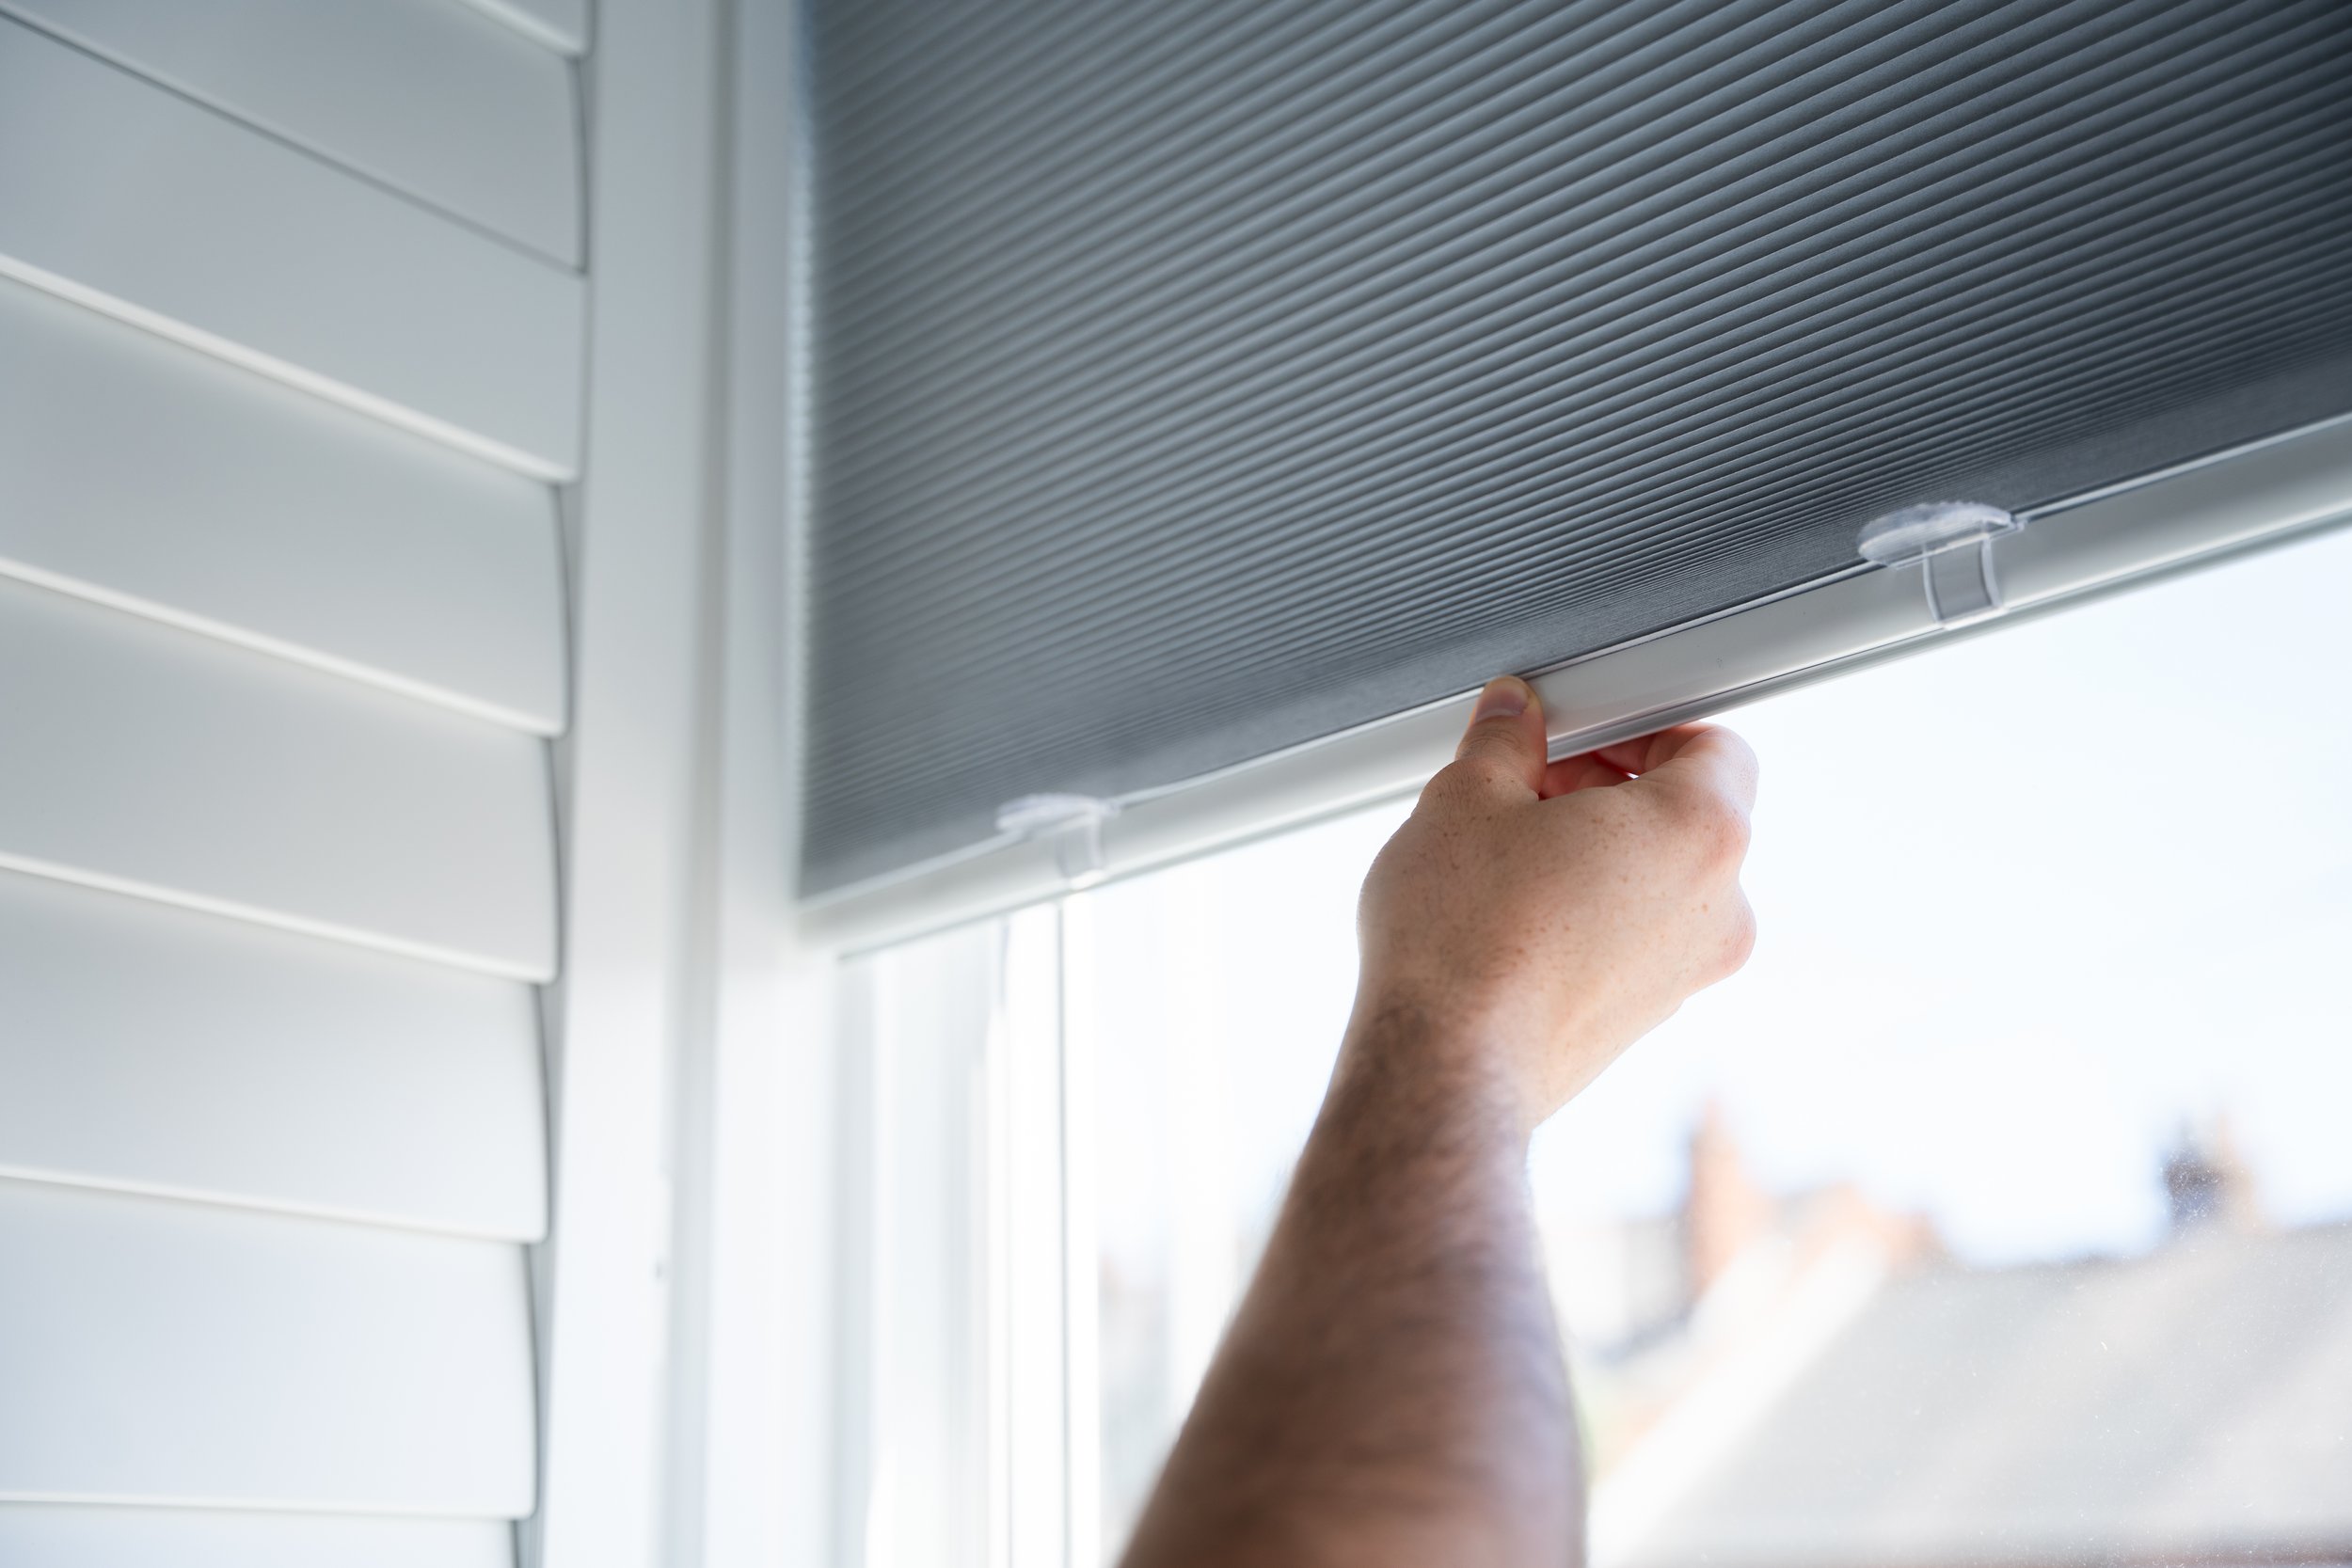
Close-up of a hand lifting an integrated window shutter blind on a white house exterior.
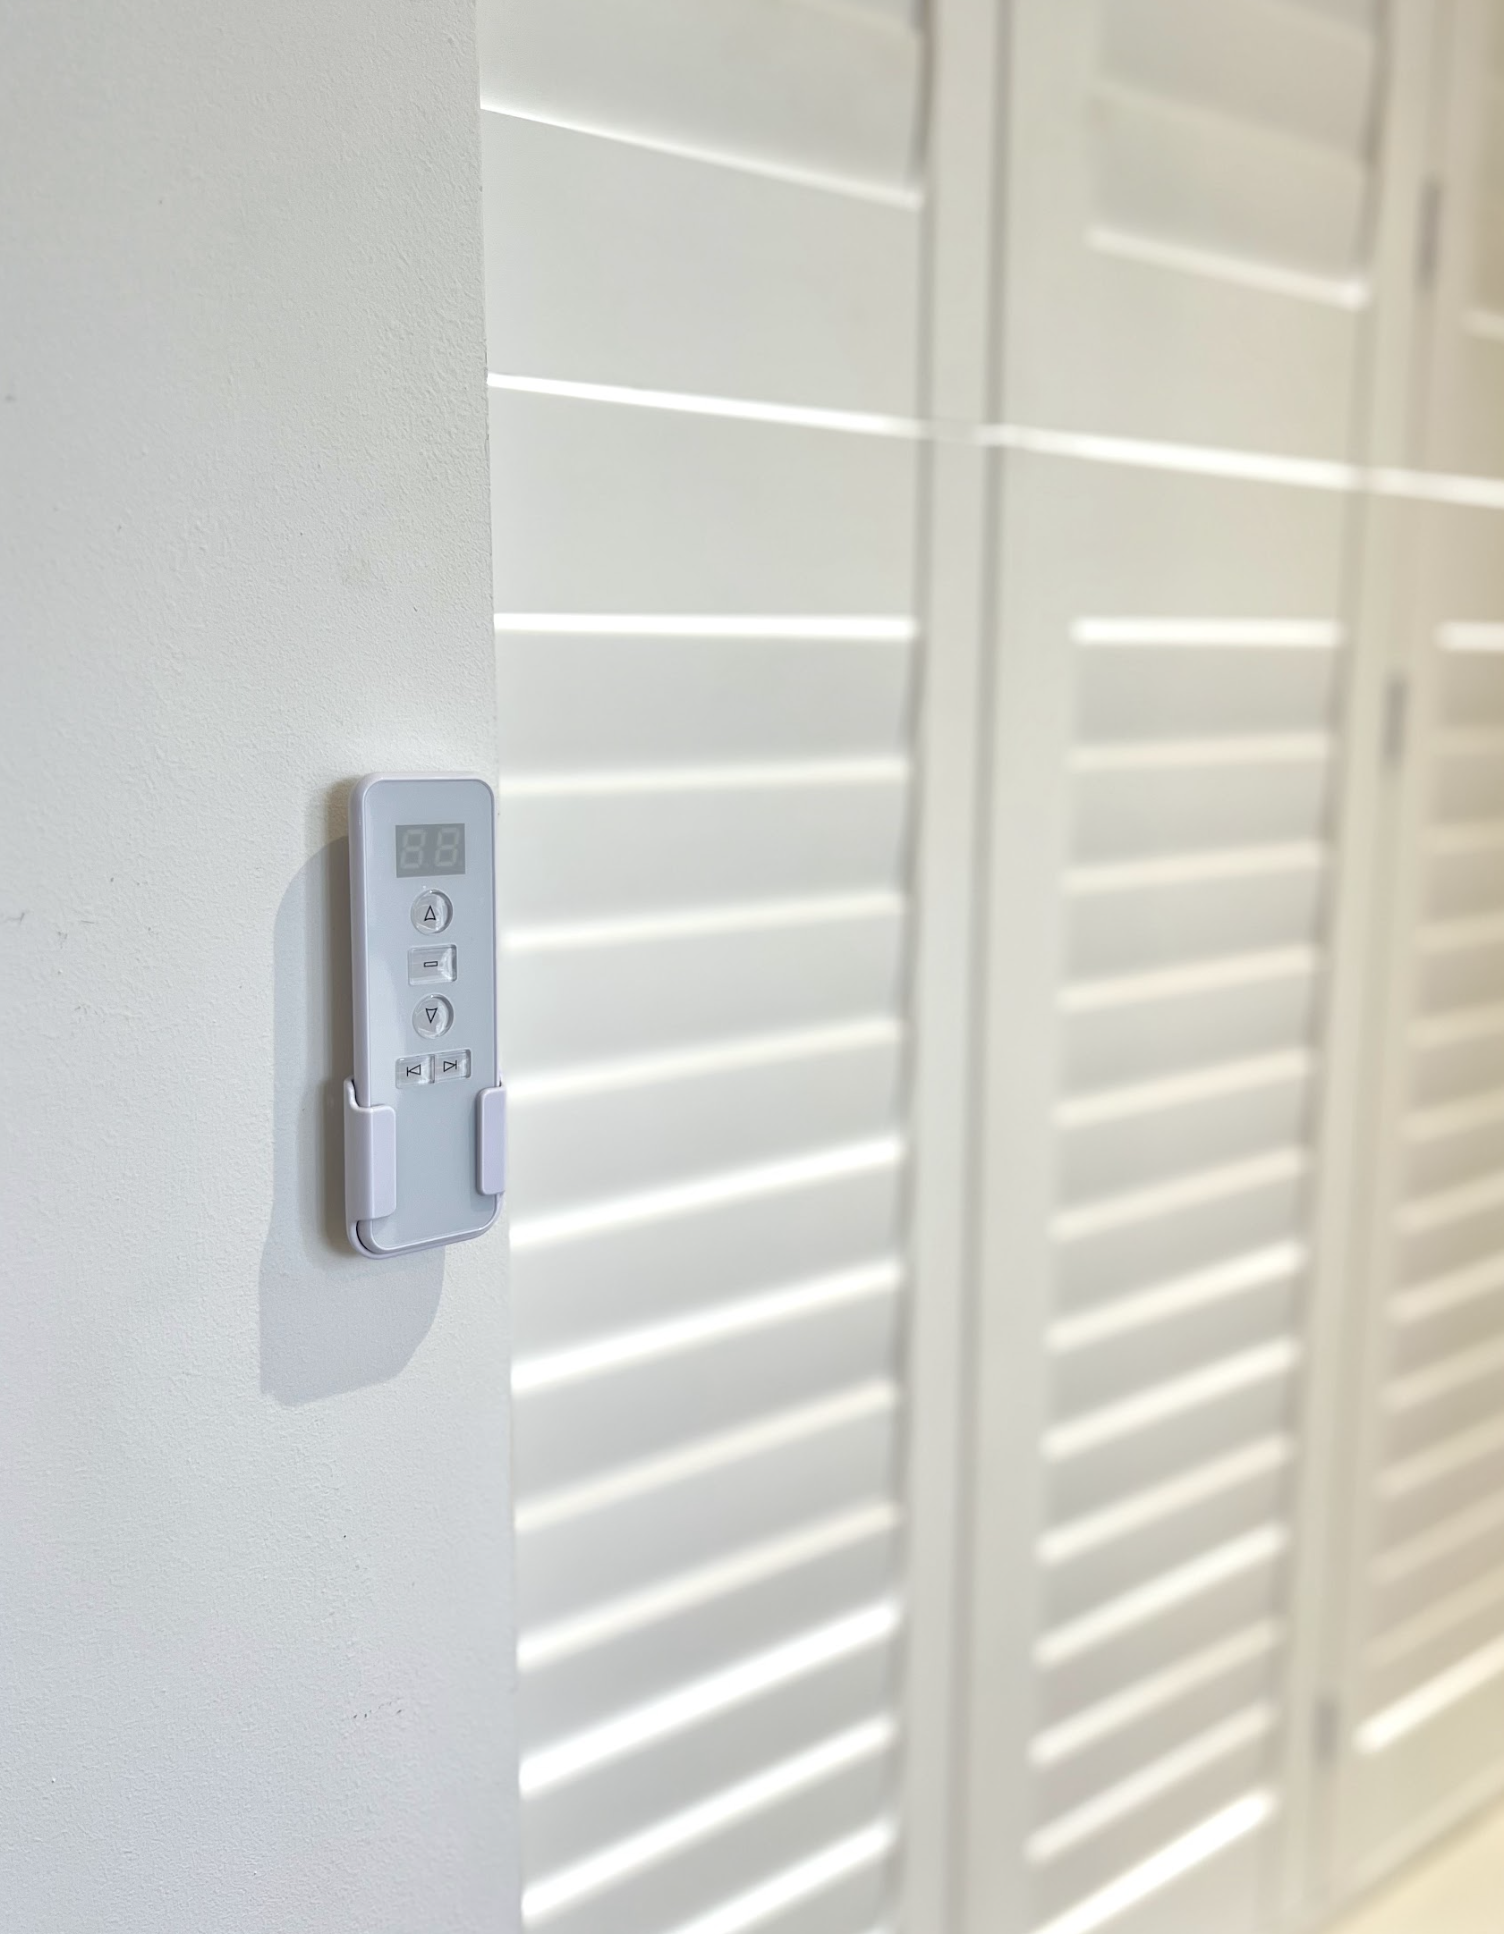
Electric shutter slats
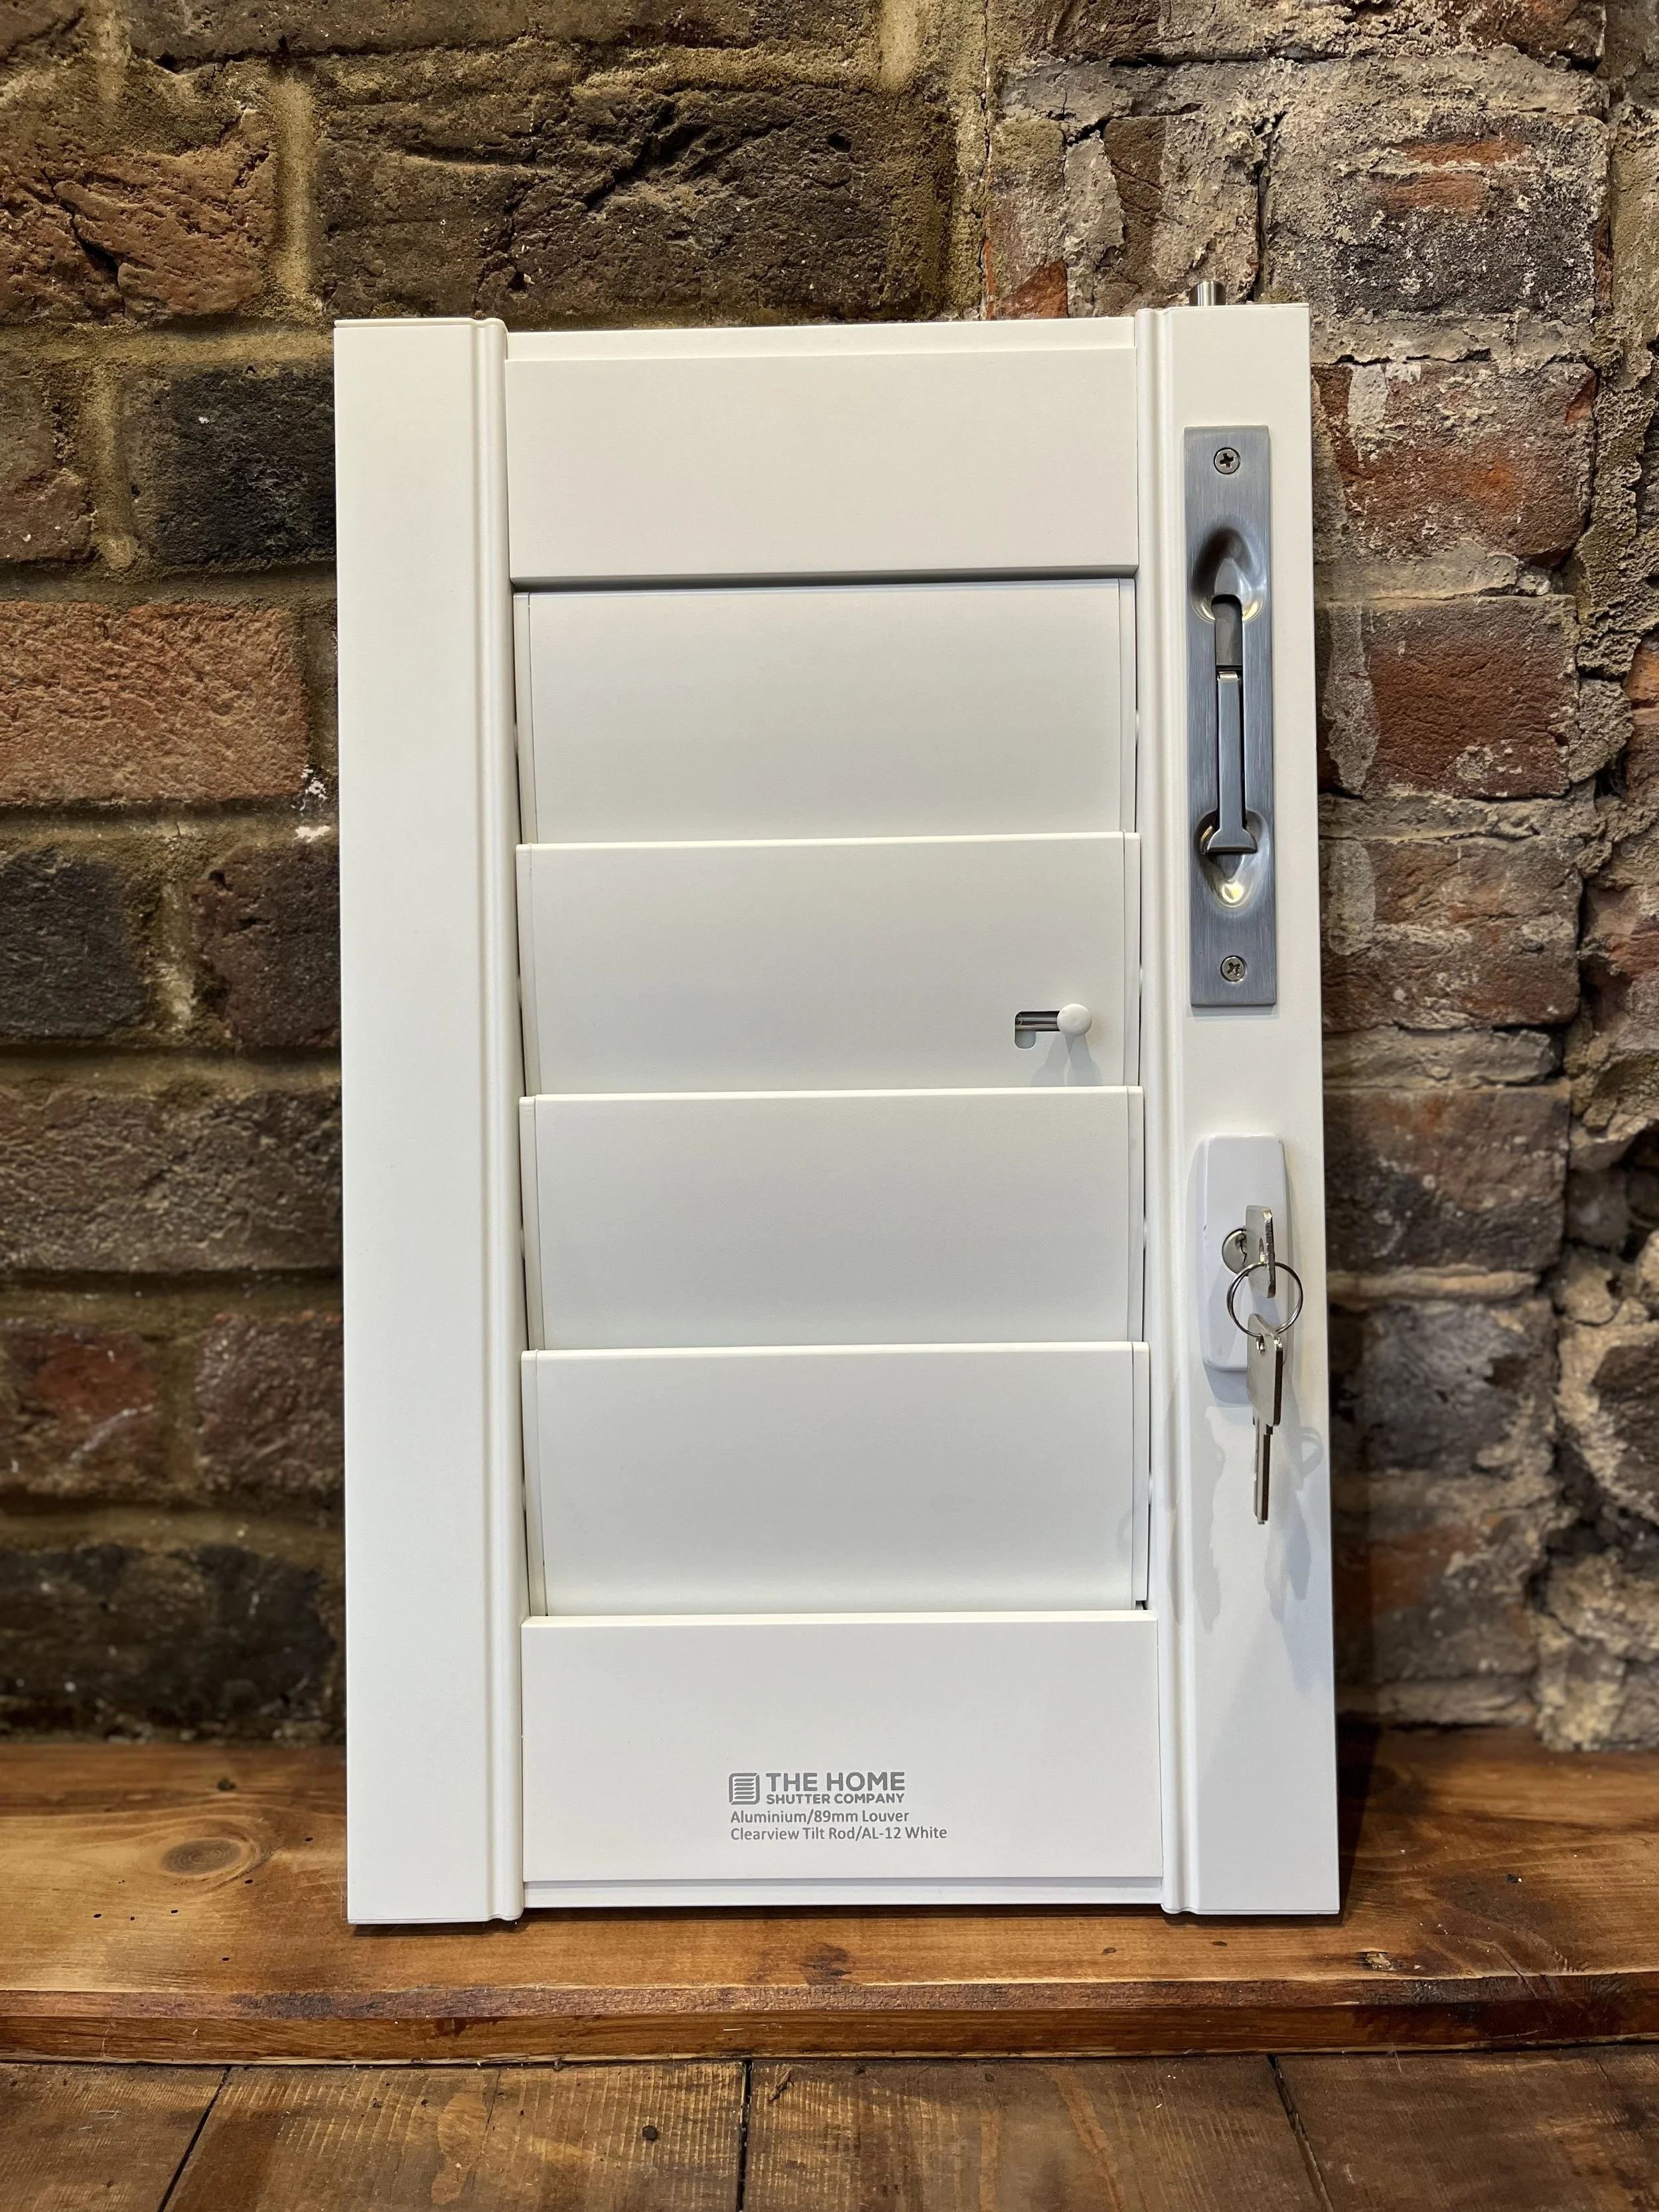
A white aluminum attic louver with a tilt rod, installed on a brick wall. There is a key in the lock on the right side. The bottom part of the louvers has text that reads 'THE HOME SHUTTER COMPANY Aluminum/89mm Louver Clearview Tilt Rod/AL-12 White'. The louver is mounted on a wooden surface beneath a brick wall.

Start your shutter journey today..